Welcome to Part 1b - social networking technologies... For this part of the Assignment I have decided to organise my daughters 4th birthday party online and send out virtual invitaions via email to all her guests. To do this I have decided to use Punchbowl. As I go thru the process of planning her birthday I will take screen captions so you can see each of the steps and have a go yourself. |
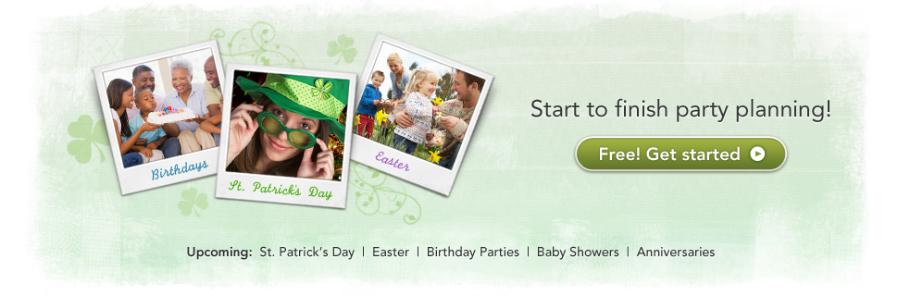 The homepage for Punchbowl. Click on the "Free! Get started" button when your ready to start. 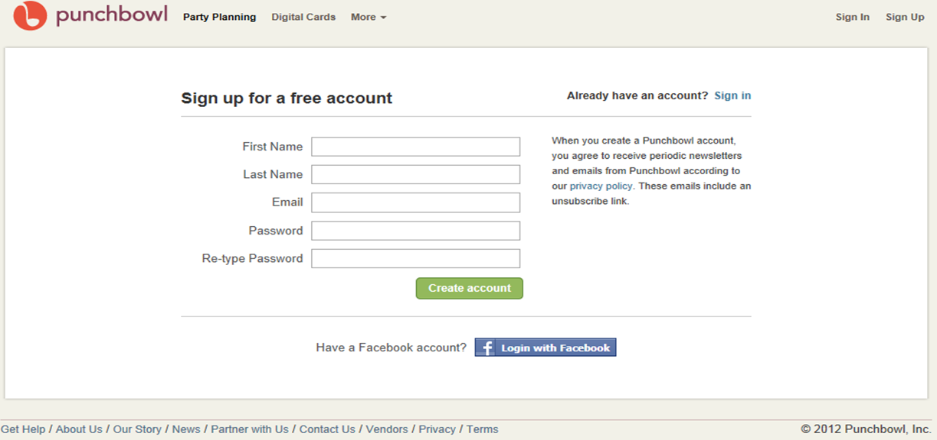 The first time you want to use Punchbowl, you will need to sign up for a free account. Once you have entered your details in the computer press "Create account" 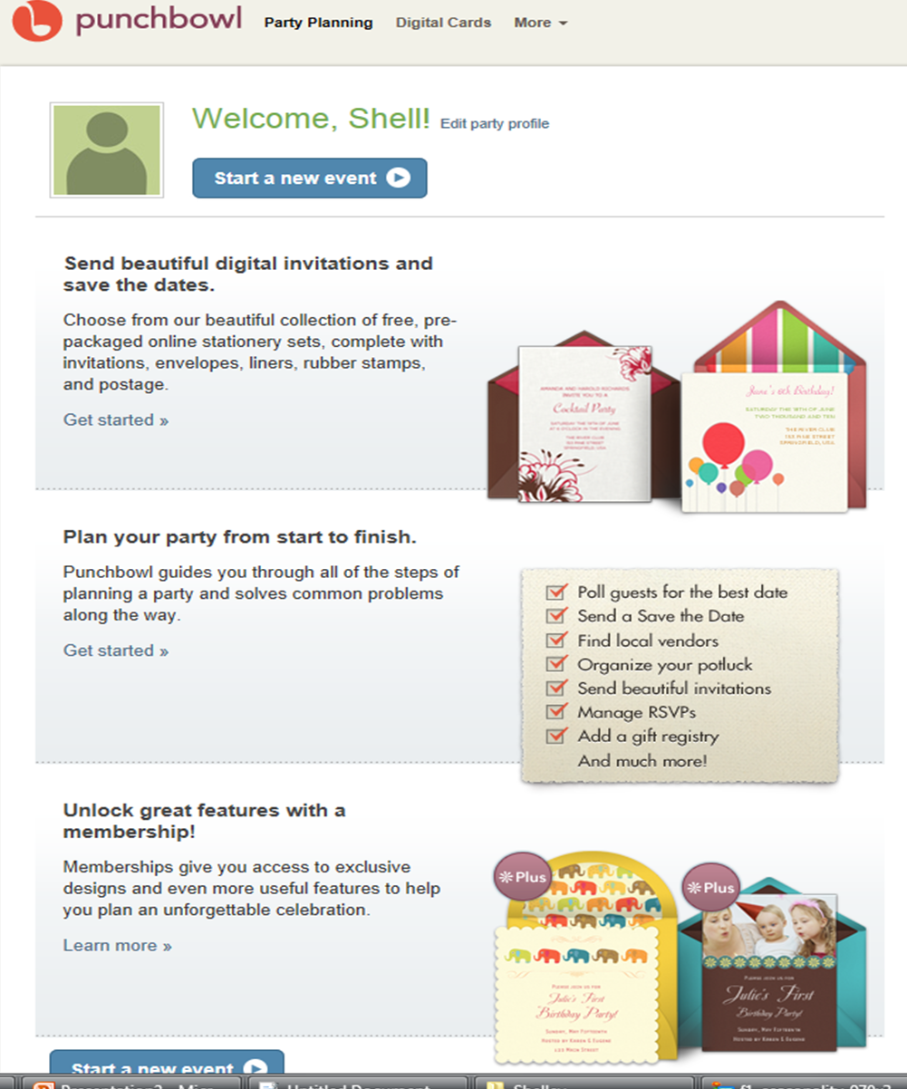 Once you have an account, you will come to a welcome screen. When you are ready click "Start a new event" 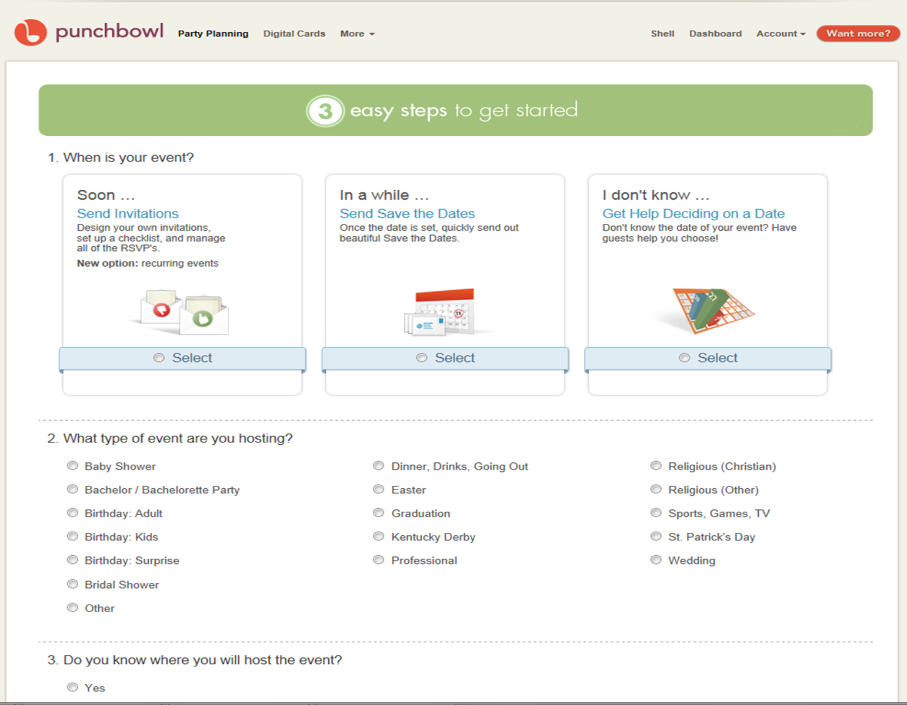 |
Choose they type of event that you wish to organise, I have chosen Birthday: Kids, gender, age and where I will be hosting the event. The program will have questions appear that are related to your event. Click the continue button when you have completed the questions for this section.
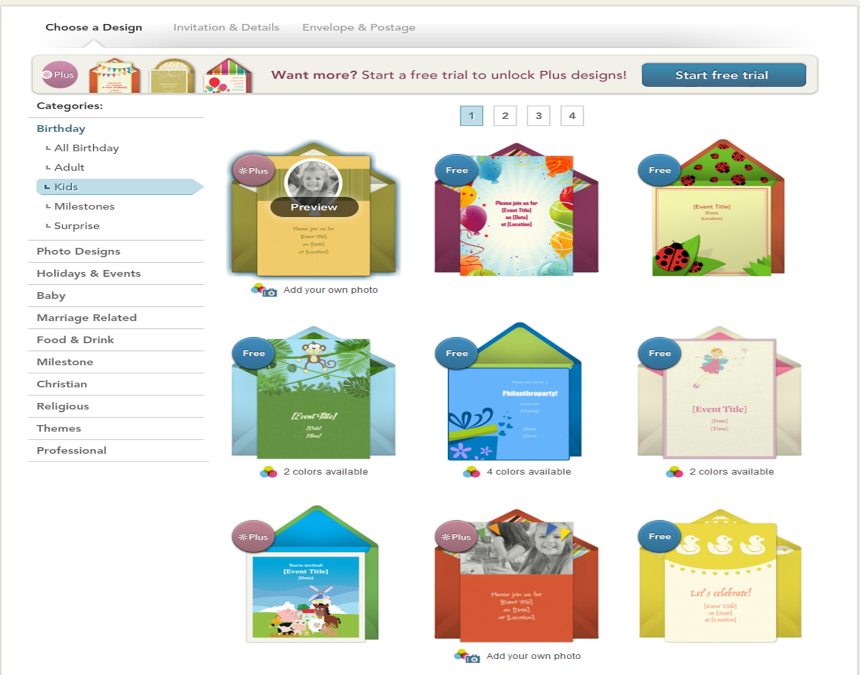
Choose the invitation design that you would like to choose, take your time becuase there are alot of different designs. Please take note to choose a "Free" package, if the invitation has "*Plus" next to it there is a fee to pay.
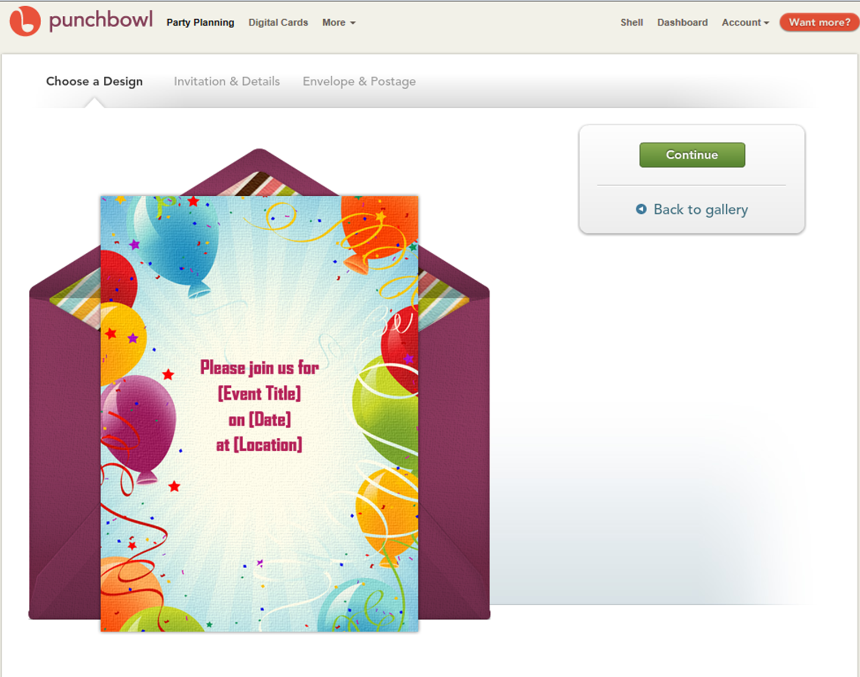
This page will show you what design you have chosen. Click continue if you are happy with what you have picked, otherwise pick the 'back to gallery' button to go to the previous page and choose another design.
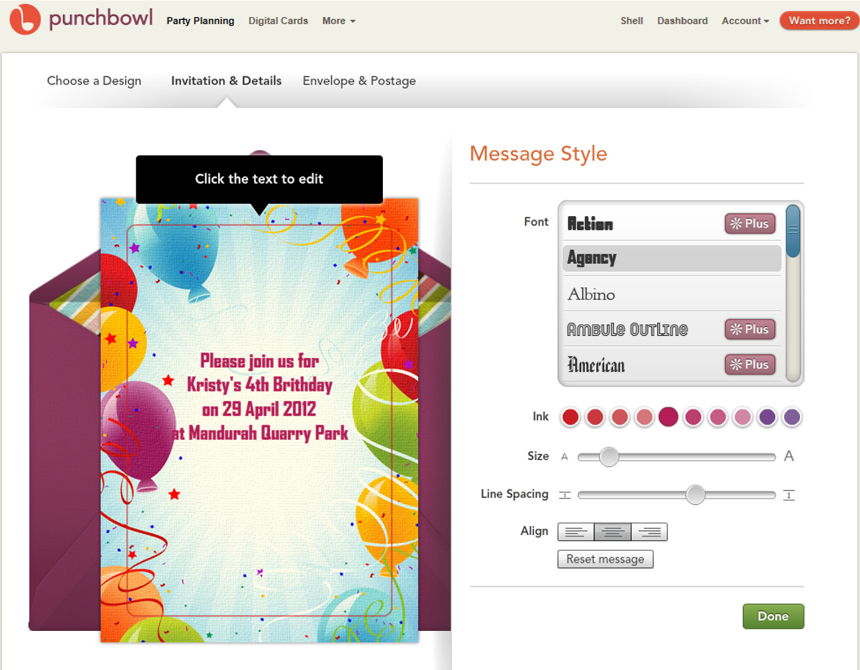
As you can see, I have edited the invitation to the information that I need. You can change the text font, colour, size, text spacing and alignment on this page. As a side tip, I would play with the colours, font, alignment all before putting in my text as it was resetting once I changed the settings and I had to re-enter my information.
Once you are happy with your design click "Done"
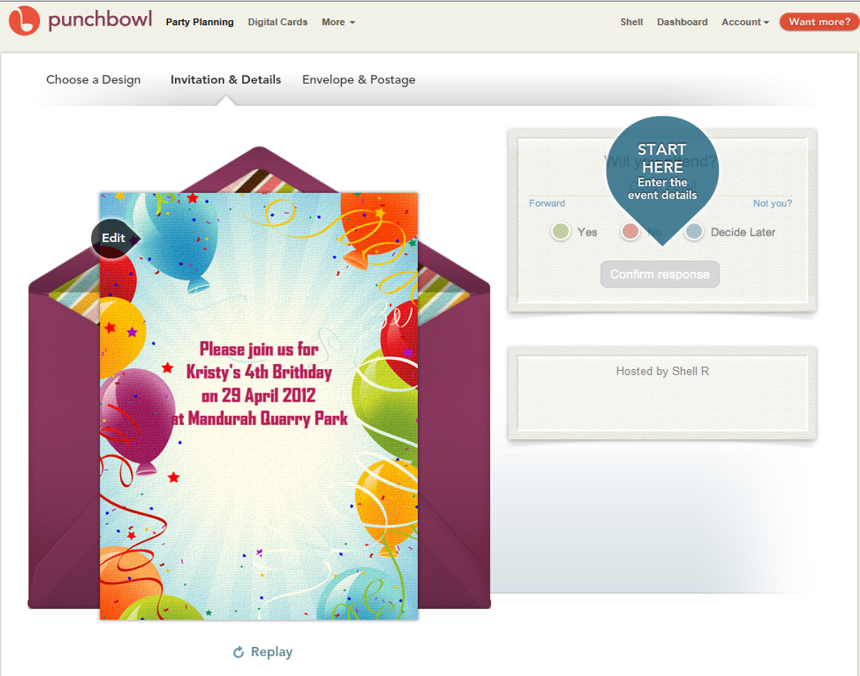
Click "Start here" when you are ready to proceed.

Insert the details of your event and press "Done" when you are ready to continue. On the right hand side (the box with "Hosted by Shell R") you will be able to see how it will be displayed.
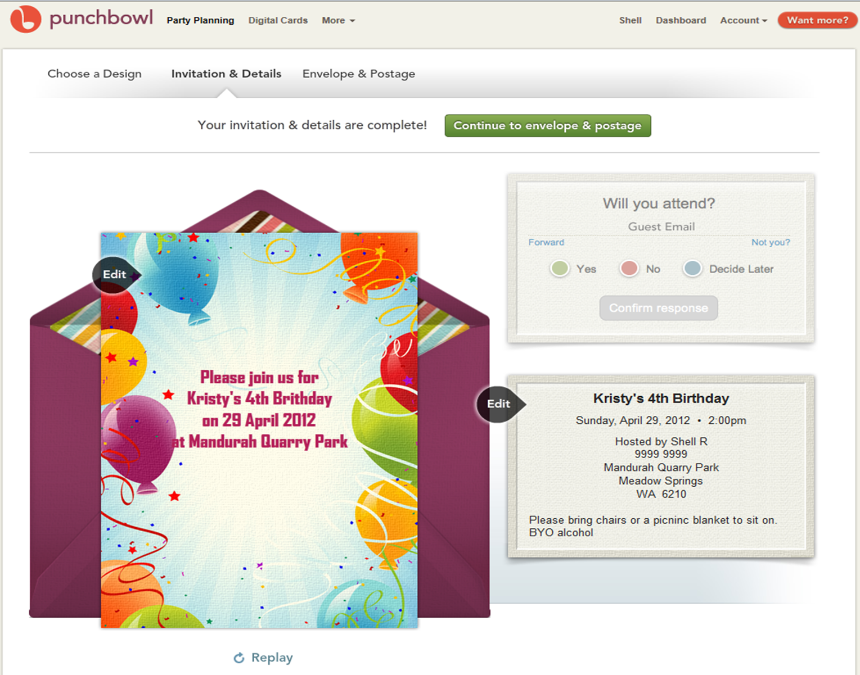
As you can see I have entered in the information for my guests. I am still able to edit the invitation and by pressing "Replay" (located under the evelope and invitation) I am able to preview what my guests will recieve. When you are ready press "Continue to envelope and postage"
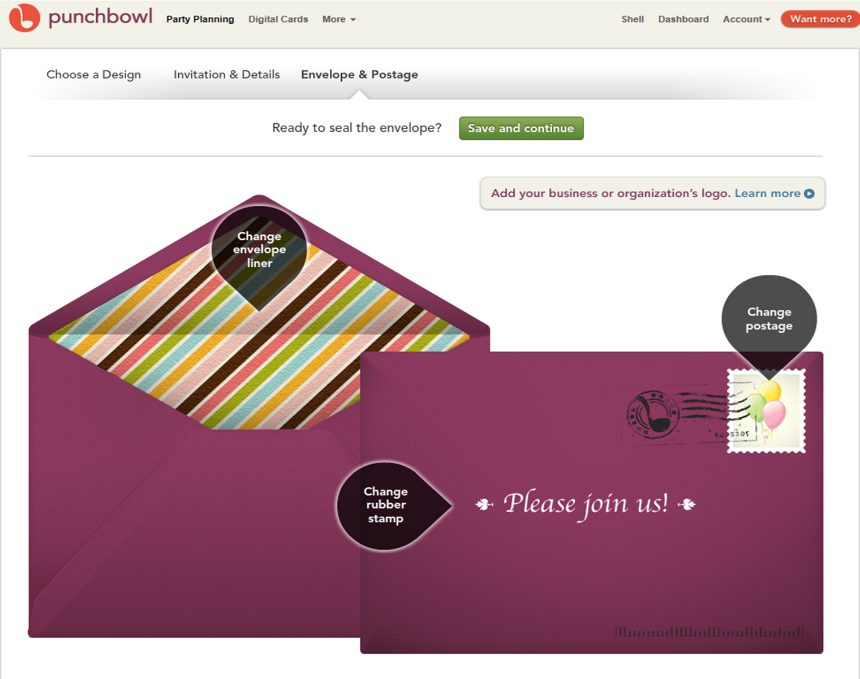
As you can see you are able to edit the envelope liner, the rubber stamp and the postage stamp. Once you are happy with your design press "Save and Continue"
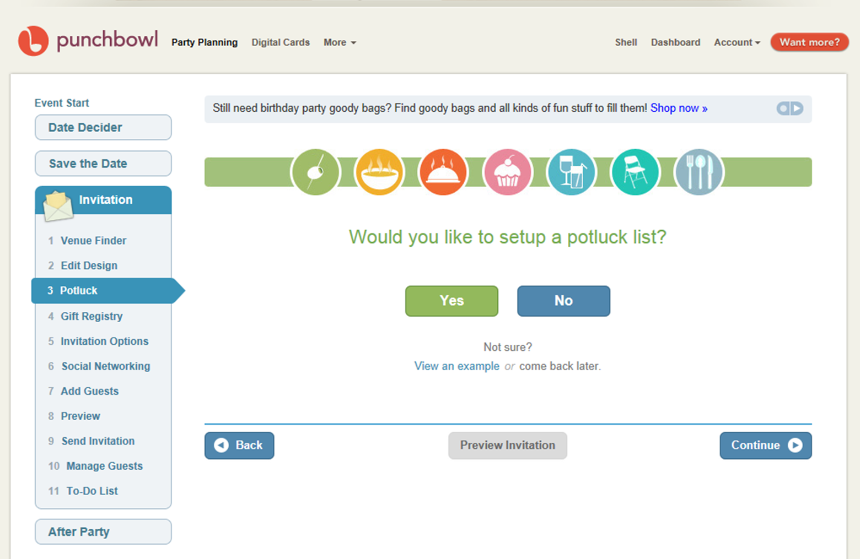
Once you have finished your invitation and sealed the envelope, you will be asked if you would like to do a "potluck list". A potluck list is a list of food/drinks/supplies that you are asking your guests to bring. They will be able to pick one and mark it off so other people are notified that someone is bringing that item. You do not have to do this step for the invitations to be sent, but I will do it so you can see what happens in the process of setting one up.
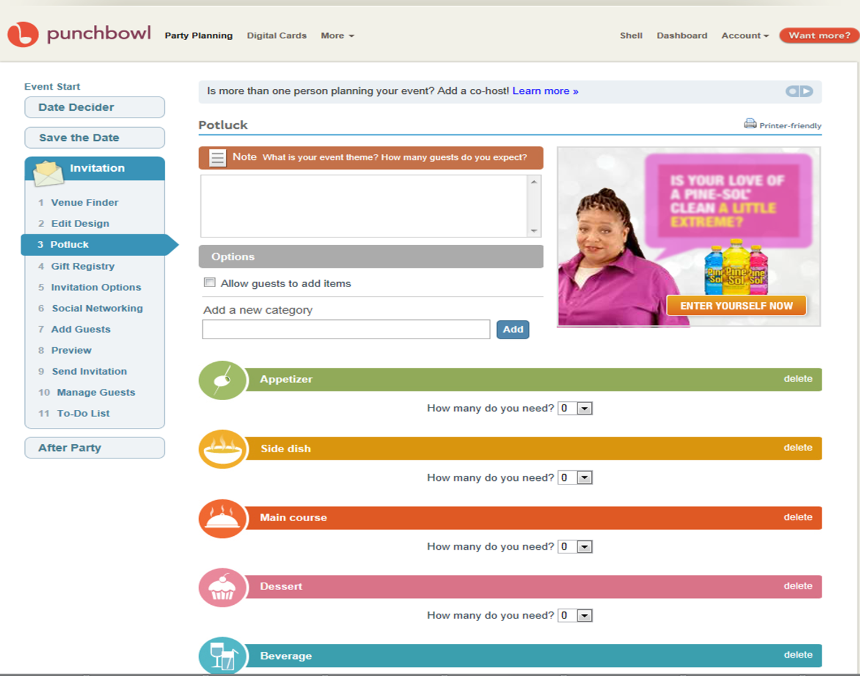
When filling out a potluck list, you are able to decide how many serves/pieces of something you need, delete a category if its not appropriate and add notes.
To insert an appetizer - select how many seves you would like eg 1. Click on Edit on the right hand side of the screen.
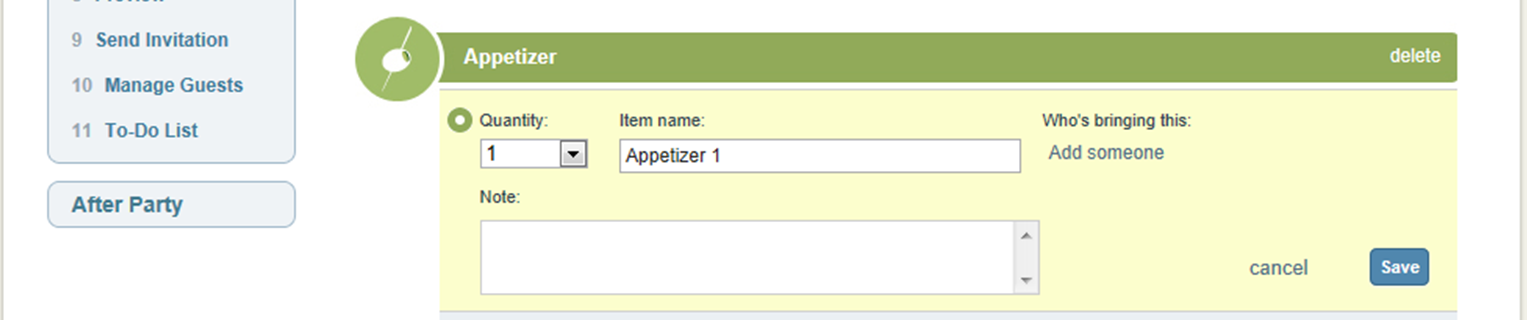
Once you have selected how many serves you would like, the appetizer section will change to look like the above screen caption. Type in the name and quantity you would like and any notes you may have. Press "save" when you are finished. Repeat this for each section you require. Once you have finished in this section press "continue"
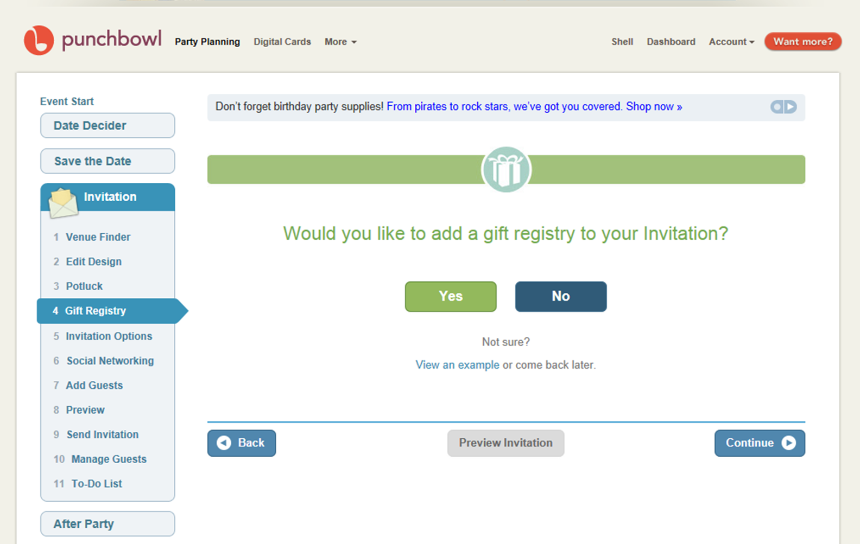
If you would like to add a gift registry click "yes" however I am going to click "No" as you will need to have an Amazon.com account and for the purpose of exploring this website I dont think it is necessary.
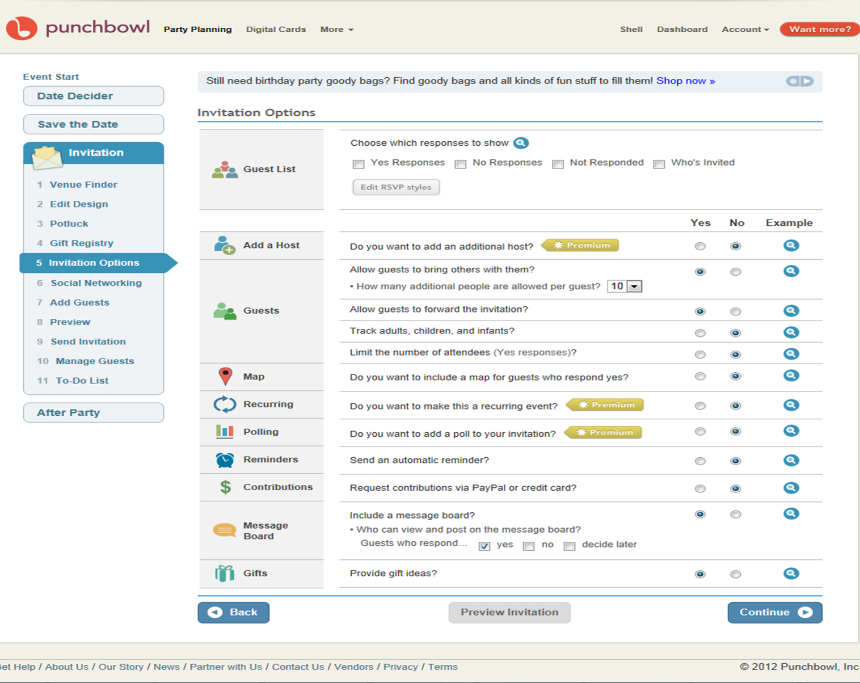
Work your way thru the questions, being careful with the *Premium options as these will incur a fee to use. Once you are satisfied with your answers click "Continue"
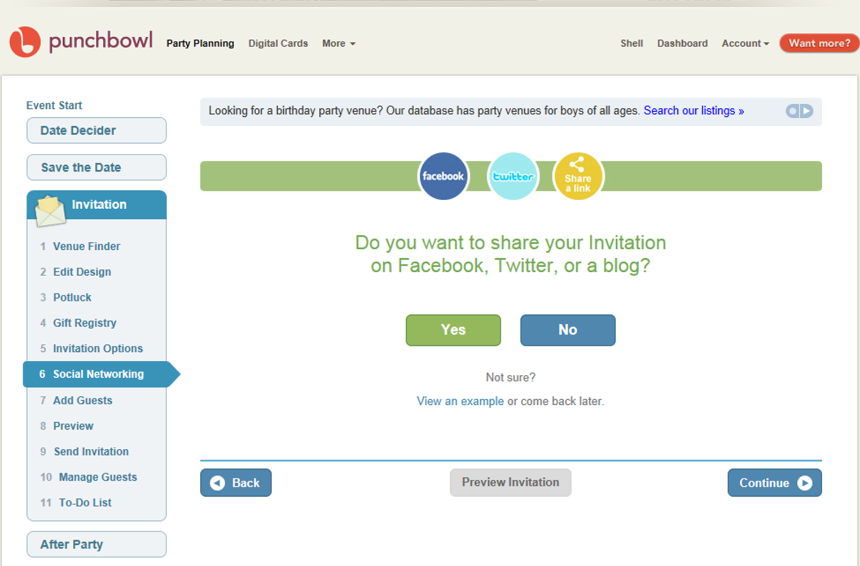
As you can see you have the option to share your invitaions on Facebook, Twitter and a blog. For the purpose of this assignment I will not be doing this as you will need to have an account with one of these sites.
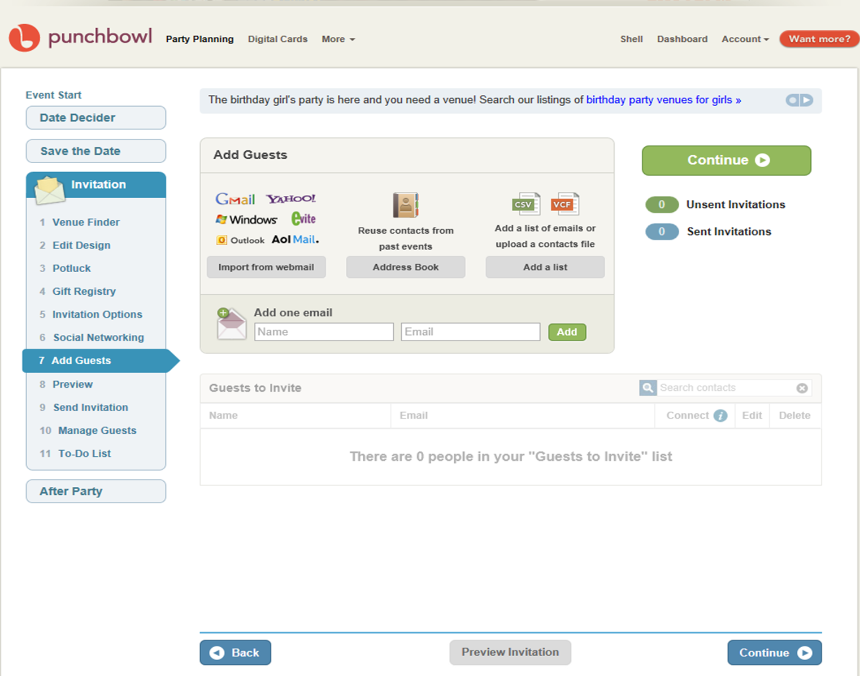
Using this page you will add all your guests and email addresses. You are able to add as many as you like. Once you have finished press the "Continue" button
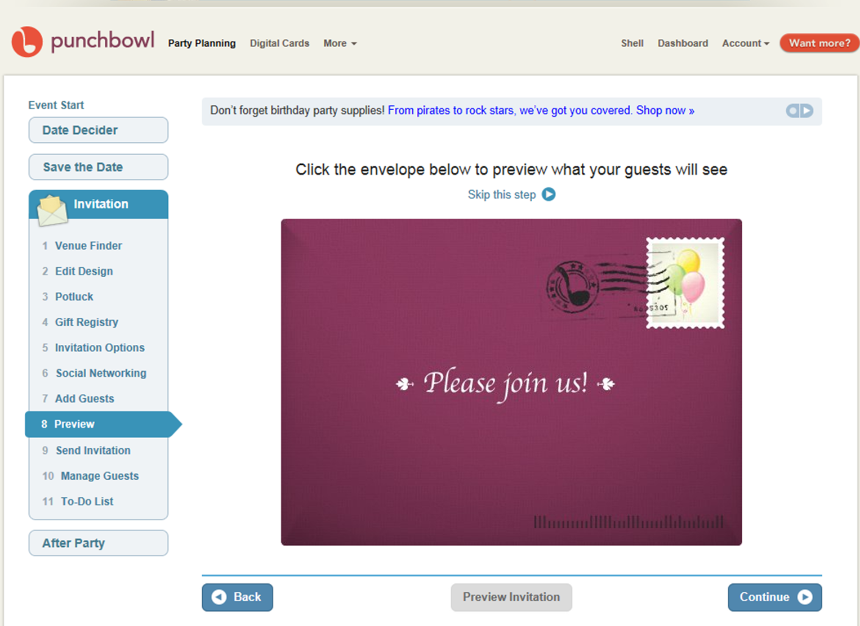
By clicking on the envelope you are able to view your party invitation as your guests will recieve it. Click "Continue" when you are ready to proceed
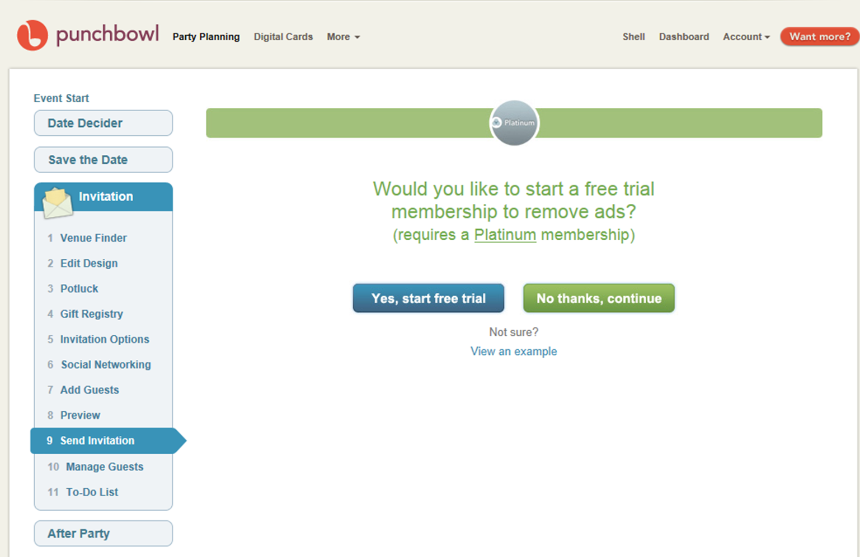
Im going to press No on this page as I am really happy with the free version, but if you are happy with the site, you might like to start the free trial and explore the paid version.
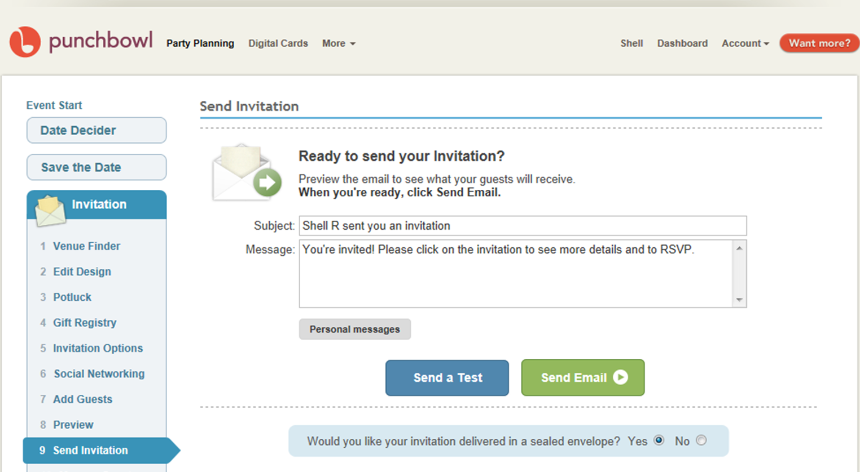
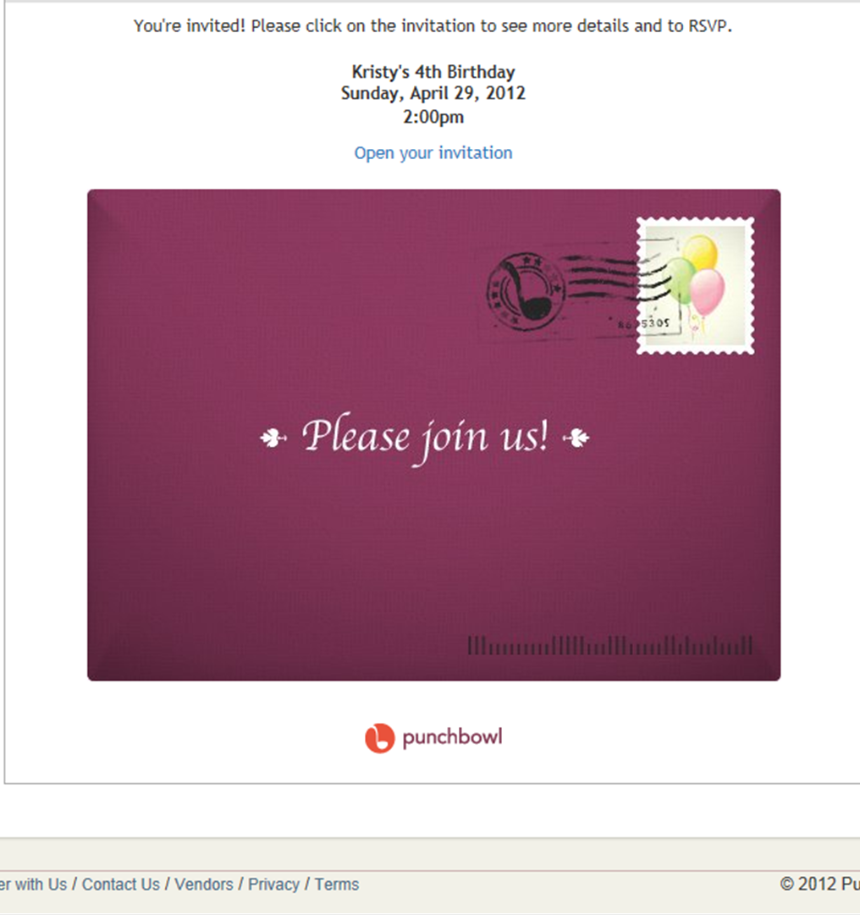
The above 2 screen captions appear on one screen. If you are wanting to preview the invitation click on "Open your invitation" above the envelope. Once you are happy with your invitation press "Send Email".
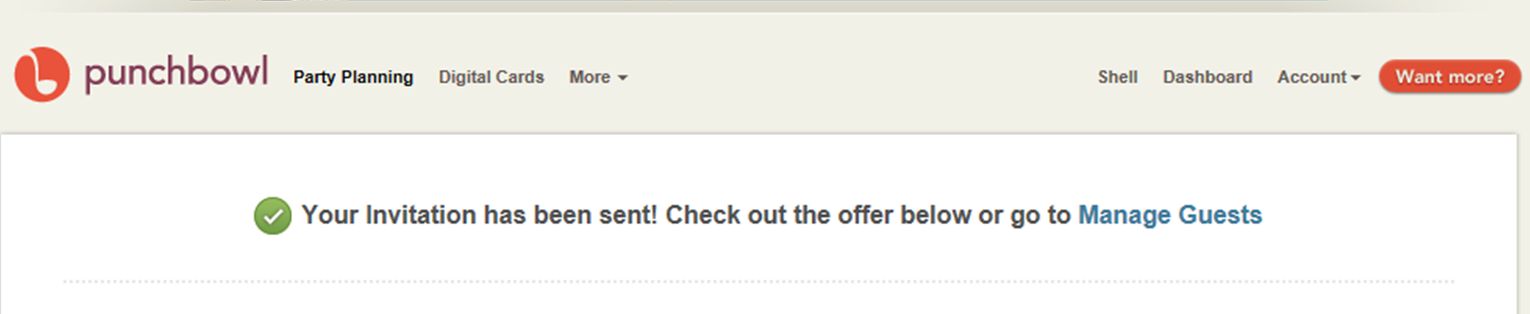
Congratulations! You have sent your online invitation. Your guests will recieve their invitations in the email inbox. They will be able to work through the steps and RSVP.
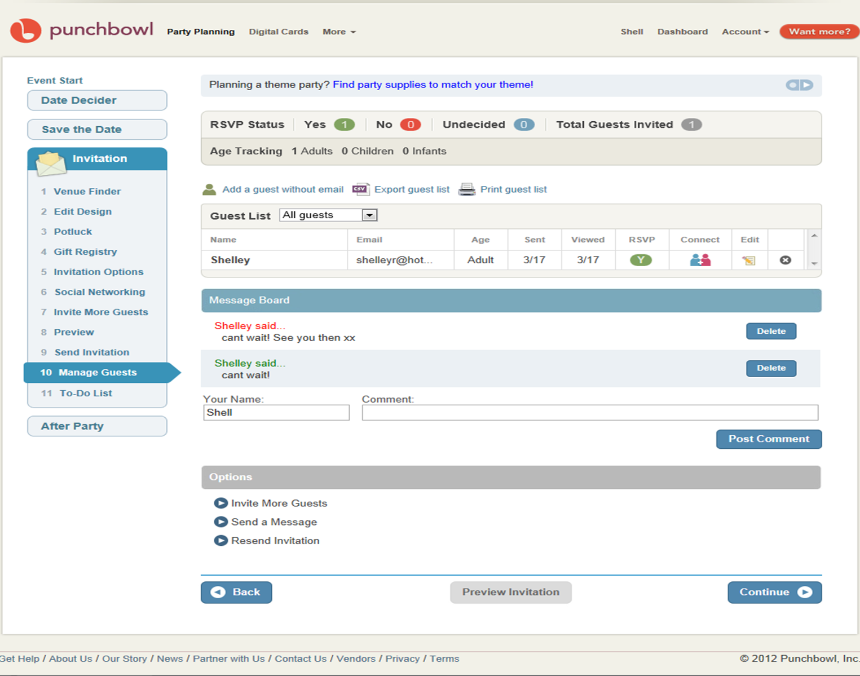
I have clicked on the "Manage Guests" tab on the left hand side of the page and can see that I have a RSVP - yes to the event. Feel free to come back regulary when planning your event to check on the progess of the RSVP's. In this section you also have a message board where all guests can leave comments. If you click "Continue" you will go to the 'To-do-list" page...
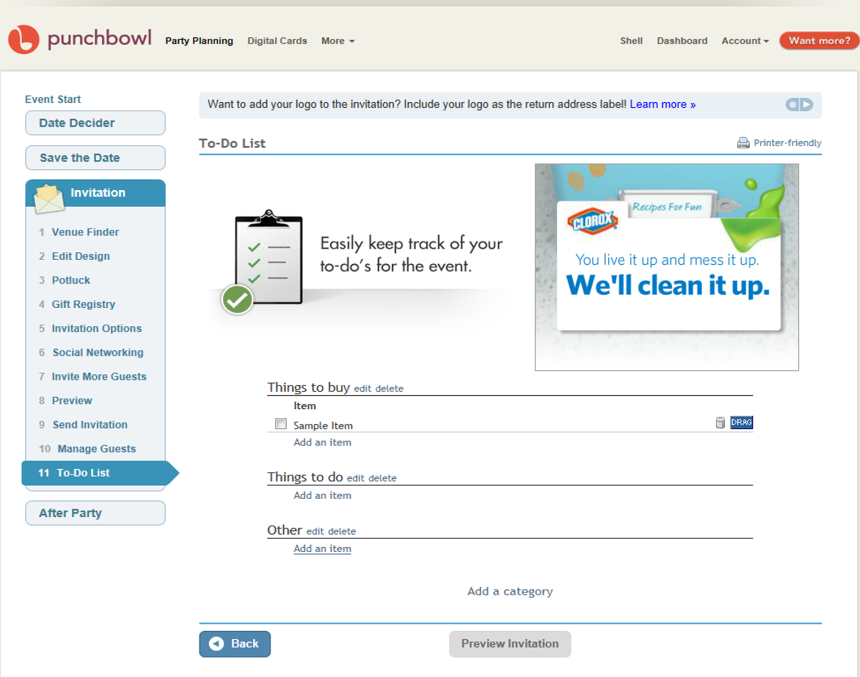
If you are needing a "to-do-list" this is where you are able to do it.
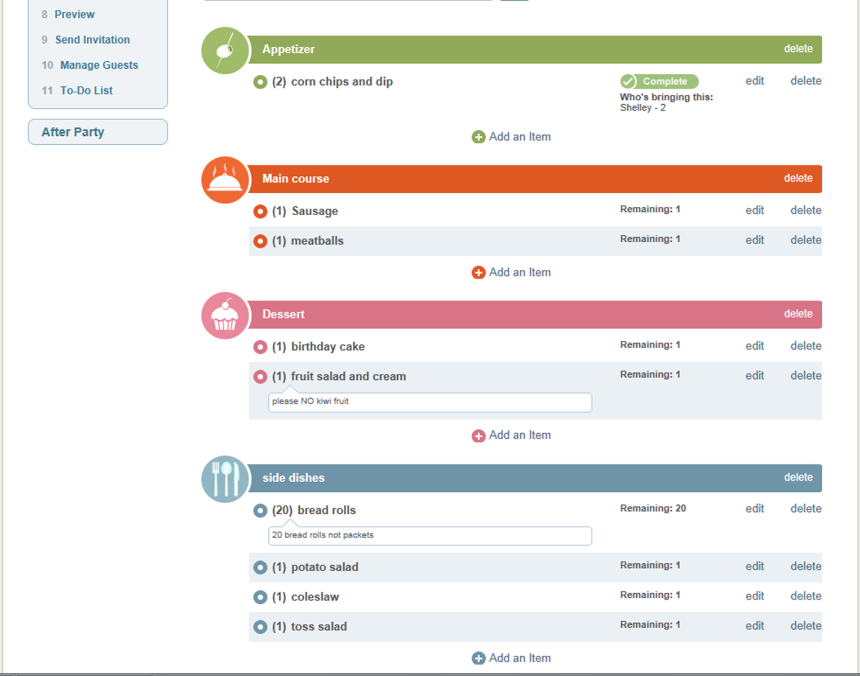
Once I have recieved a yes RSVP, I have gone back into the "Potluck" section and can see what people are bringing. In this case I can see that Shelley is bringing 2 corn chips and dip and that the appetizer section is complete.
Thankyou for looking at my social networking site. I really do like Punchbowl as it sends 'old style' invitaitions with a modern twist.
Shelley Rogers acknowledges that Punchbowl are the copyright holders for the above screen captions.